Alignment is a complex topic as there is no one right way to do it. On Tour, players have open stances, closed stances, square stances, narrow feet, wide feet, straight posture, arched posture, and so on…
This is great news for you as a lot of different styles will work. Unlike other aspects of golf, putting allows you to be more creative in your approach. Although, it’s important you understand the “textbook” positions of putting alignment before breaking them.
“Know the rules well, so you can break them effectively”
– Dalai Lama XIV
Proper putting alignment follows 4 main steps: understand principles, figure out what works for you, find your tendencies, and then monitor these tendencies.
This is a framework that has repeatedly worked for me (as a +3 handicap). And will apply to anyone!
Here’s the plan for this post:
- Introduce Putting Alignment Principles
- Find Your “Optimal” Style
- Understand and Work On your Tendencies
- Long-term Progress (stay on the path)
Putting alignment is a unique topic as it yields quick returns. A small amount of effort (and time) can result in a large amount of gain. Take advantage of this… there won’t be many more like it.
Putting Alignment Principles
This section will outline basic putting alignment fundamentals. Think of this as the “textbook” way. If you are new to the game, I advise you start here. If intermediate or advanced, use this is a starting point and adjust to your own game.
Here is 85% of ALL the putting alignment out there.
- Square/open stance: feet should be perpendicular to target line or slightly open
- Eyes on or just inside the ball: when looking down, eyes should be on or just inside of the ball
- Forearms should be square to the target
- Shoulders, hips and elbows should also be square to the target
- Putter shaft should be inline with forearms
- Ball slightly to the left of center (for right hander), in line with left eye
That’s it. The above list summarizes 5% of “ideal” putting alignment. Check out this post from GolfWRX for more information.
Again, this was a brief overview of the main accepted putting alignment principles. There are other things like line vs no line, routine, stance width, etc, but these aren’t as important.
Your goal: have an understanding of the general putting alignment principles. You can always refer back to this list.
Finding Your “Optimal” Style
This bit is crucial and can vary depending on your level. If you are a beginner, I recommend you follow the “textbook” principles above. If you are intermediate or advanced, you should have some idea about what makes you putt well.
Meaning, you should know what deviations from the above principles work best for you. For example, I know that I putt well with an open stance, eyes inside target line, and forearms slightly open.
“But…I remember times when I putted well but don’t remember exactly what I was doing”. No problem. This is a good starting point. Think back to those times and latch on to certain feels. Maybe you putted well because your body felt locked. Or maybe you felt super relaxed over the ball. Doesn’t really matter.
Spend some time writing down similarities of your good putting rounds. A list of 3-4 items will suffice.

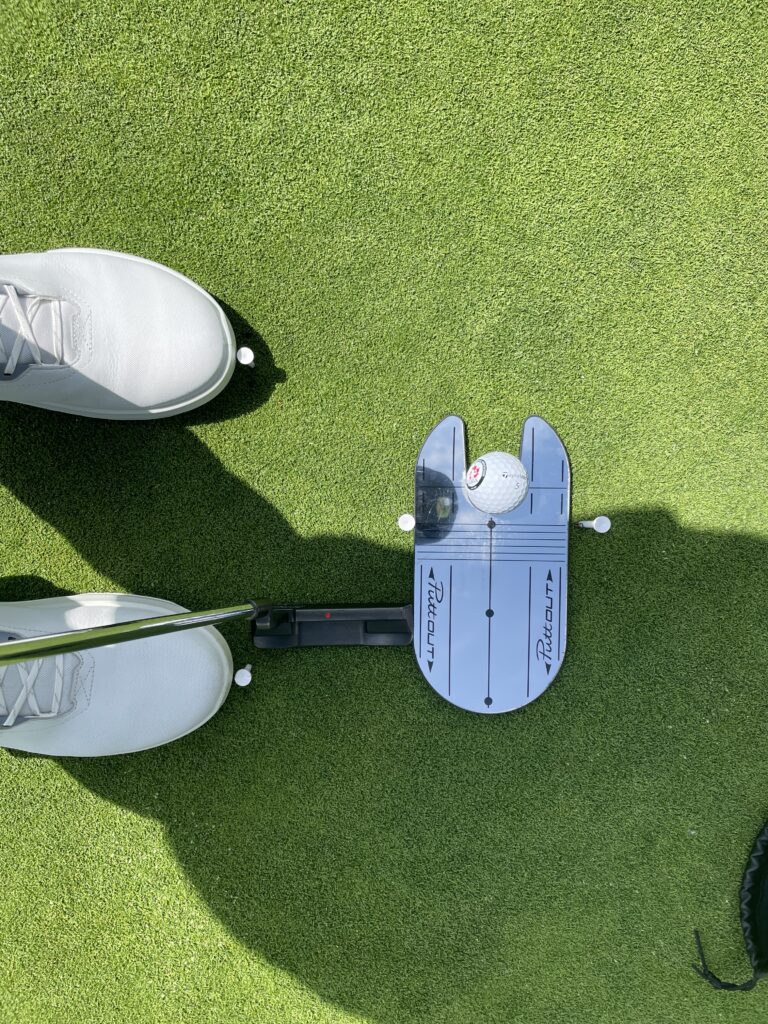
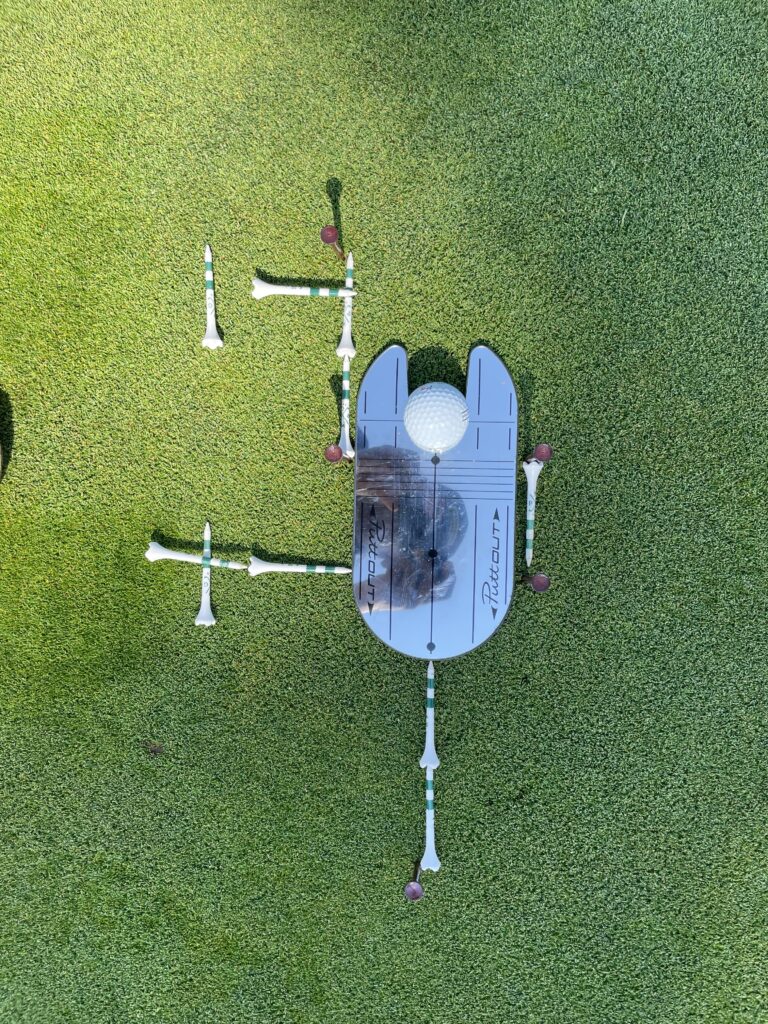
Here’s a photo I took of my personal style. The tees and putter–head are used as reference points to get back into this position later on. Note that this isn’t “final”. My setup today looks a bit different than this.
Understand and Apply Your Tendencies
Once you have your ideal “style” dialed in, it’s time to compile your tendencies.
If you are a beginner, you should skip this step.
Your tendencies are a list of 4-5 repeated traits that lead you away from your ideal style (similar to bad habits).These are things that must be continually monitored to ensure consistent performance.
To find your tendencies, think back to your common bad habits. For example, this could be, “I swing the putter-head too far outside going back” or “my grip pressure tenses up” or “my stance gets too open”. When there is money on the line, do you return to some original technique?
Struggling with ideas? Take a look at mine:
- Stance gets too open
- Mishit putts on the toe
- Decelerate on the way through
- Forearm get too open
- Stroke slows down
Your goal: a list of 4-5 common tendencies that lead you to bad putting days.
That was the hard part. The next step is to continually monitor your tendencies so they don’t get out of hand.
For example, your stance may get slightly more open and open and you don’t notice it. After a few days however, you’ll find your stance is SUPER open. This can be the cause of a bad putting day.
Our job is continually monitor these so that we don’t have to worry about them on the course.
Here is where training aids come in. Training aids are designed to automate this “monitoring process”.

For example, a putting mirror keeps your eyeline in check without you having to worry about it. It essentially lowers mental energy so you can focus on other things.
Figure out what training aids will help you seamlessly monitor your tendencies. Alignment sticks, putting mirrors, tee gates, chalk line, etc, are all ways to work on certain tendencies.
For stroke related tendencies: using different tee patterns is the best aid (and the cheapest ;)). See above image.
For most tendencies, a simple mental feel is enough. For example, just feeling a faster stroke will help monitor a “slowing stroke” tendency.
Now, you have a few things to work on to keep your alignment in check. This will not require more than 15 minutes of weekly practice to maintain.
Congrats! You have identified your own style, figured out your tendencies, and have a few ways to monitor these tendencies. This is a key milestone on your road to consistent putting.
Long Term Progress – Stay On the Path
The next step requires discipline. You must stick to your style and consistently monitor your tendencies to ensure long term improvement.
There will be all sorts of distractions along your journey. This coach says do this. This player does this. This guru tells me this. You have to resist everything and stay on your path.
Don’t Make Emotional Changes
Obviously, if your putting is not improving (or getting worse) on a month to month basis, then it’s time to re-adjust. However this is very rare in most cases and should be avoided if at all possible.
This is important: Don’t make changes because of one or two bad putting days. This is not enough time to justify making a change. Also, if you play on bumpy greens, accept that good putting mainly comes down to luck.
Don’t compare yourself to PGA Tour players on PGA Tour greens. You would be surprised at how mediocre they are on public greens. The perfect “tour” conditions makes putting a lot easier.

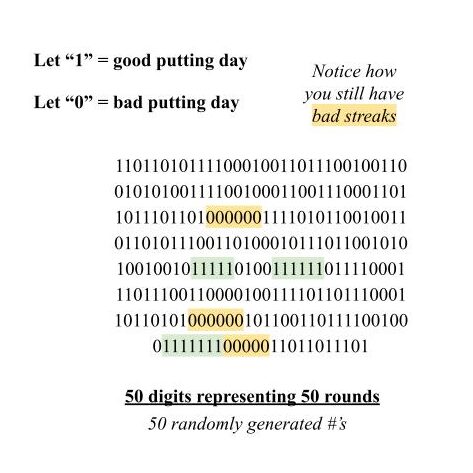
Bad putting days are inevitable. Be objective in your judgment. Make sure you are solving the right problem.
At the end of the day, so many variables are factored into putting that being sub-optimal in a few things won’t make a difference. Think big picture.
Final thoughts
Whew… that was a long one.
Hopefully that was easy to follow along with. Tried to make things as clear and applicable as possible. Putting alignment really boils down to 4 main steps:
- Understand principles
- Find your “style”
- Figure out tendencies
- Monitor these tendencies.
As always, leave any unanswered questions in the comments below or reach out via the Contact Us Form. Parting question:
How will you work on putting alignment in the future?


